From Electrical Power to Sheet Metal Cutting: The Complete Process
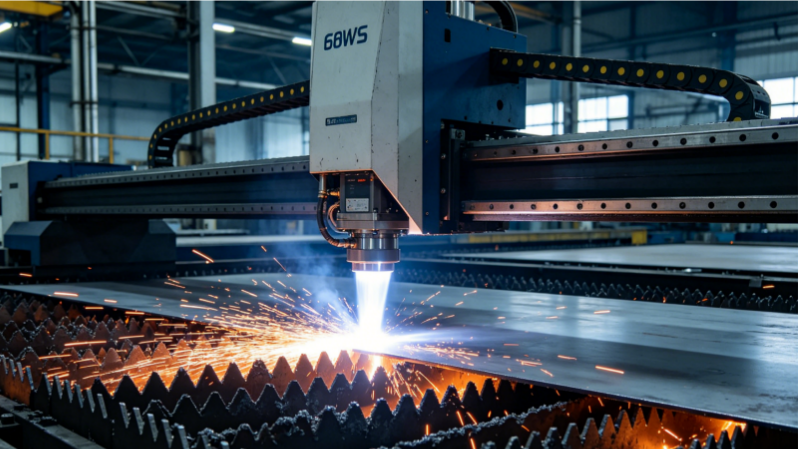
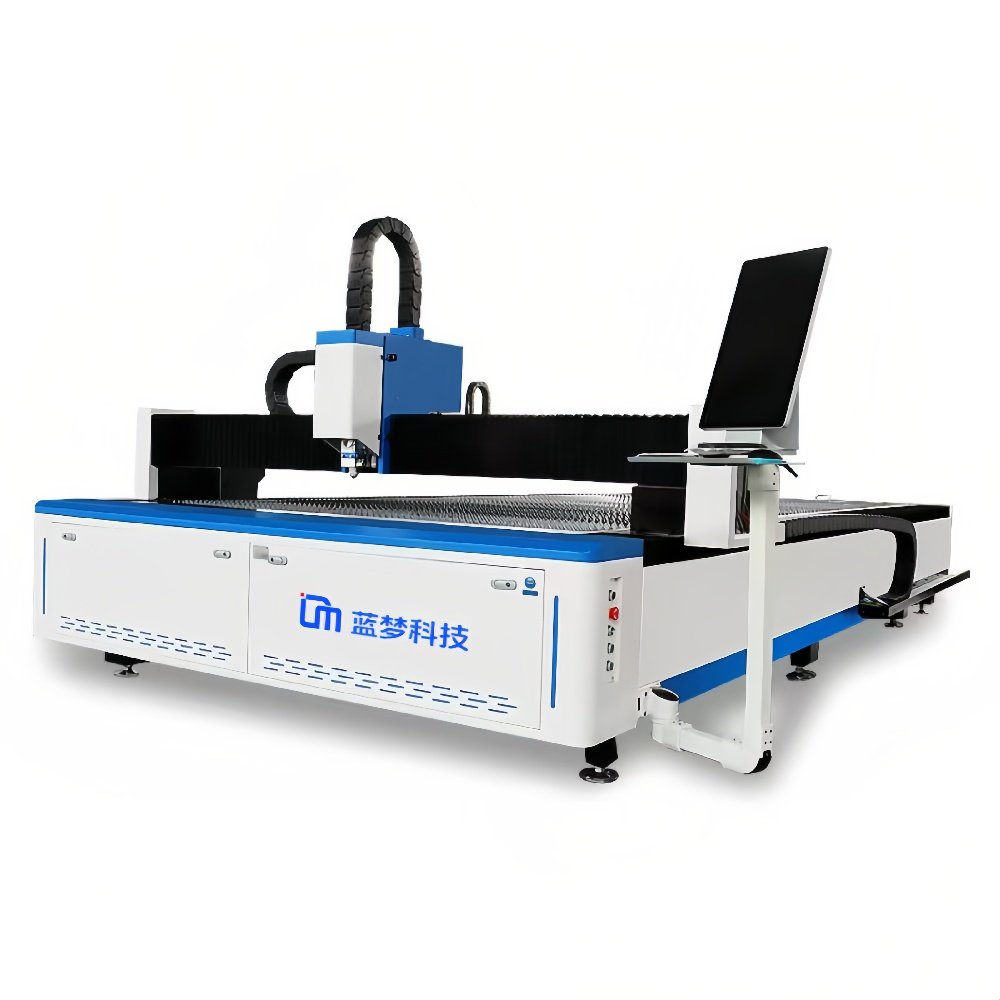
In industries like sheet metal processing, hardware manufacturing, and precision parts machining, fiber laser cutting machines have long been core equipment. They effortlessly cut and shape various metal sheets thanks to their high precision, high speed, and low material waste. Many people wonder: how can a seemingly weak beam of light effortlessly “slice through” hard steel plates? Today, we will break down the working principle of a fiber laser cutting machine through four core dimensions, helping you completely understand its “cutting magic.”
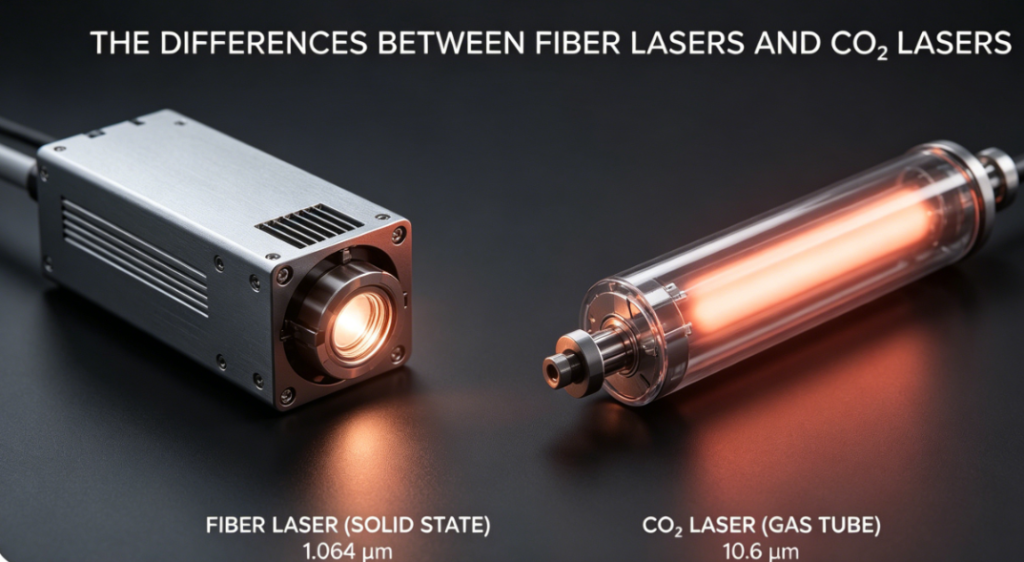
1. The Core First Step: How is Electrical Energy Converted into Laser Energy?
The “power source” of a fiber laser cutting machine relies on converting electrical energy into high-energy laser light. This process primarily depends on the core component: the fiber laser source. The conversion principle is not complicated; it is essentially a process of “energy excitation and amplification,” which can be divided into three key stages:
-
Generation: First, the pump source (usually a semiconductor pump source) inside the laser converts electrical energy into photons of a specific wavelength, acting as “energy seeds.”
-
Excitation: Next, these photons are injected into the gain medium of the optical fiber (typically doped with rare-earth elements). The gain medium absorbs the photon energy, causing its own particles to jump from a low energy level to a high energy level.
-
Amplification: When the number of high-energy particles reaches a certain scale, “stimulated emission” occurs. A massive number of photons are released to form the initial laser. Finally, this initial laser light bounces back and forth within the fiber, constantly amplifying, and ultimately forming a concentrated, wavelength-stable high-power laser beam.
A key advantage here: The high refractive index of the optical fiber traps the laser tightly inside, minimizing energy loss. This makes the conversion efficiency far superior to traditional lasers, which is one of the main reasons why fiber laser cutters are so energy-efficient and highly productive.
Currently, the photoelectric conversion rate of fiber lasers on the market is ≥40%. This means that 1KW of laser output requires at least 2.5KW of electrical power (1KW ÷ 40% = 2.5KW). Similarly, a 2KW laser needs at least 5KW of electricity, and a 3KW laser needs at least 7.5KW. The high refractive index of the fiber reduces energy loss, and combined with the laser’s high conversion rate, makes the equipment highly energy-saving.
2. The Crucial Second Step: Collimation and Focusing
The laser beam emitted from the optical fiber, although highly concentrated, is still divergent and cannot be used directly for cutting. Just like a flashlight, the further the light travels, the more scattered and weaker it becomes. Therefore, the laser must undergo “collimation and focusing” in the cutting head to become a precision “energy blade.”
The interior of the cutting head mainly contains two core lenses:
-
The Collimator Lens: Its job is to correct the divergent laser beam into parallel light, ensuring the laser doesn’t scatter and lose energy during transmission.
-
The Focusing Lens: The parallel laser beam then passes through this lens and converges into a microscopic focal point. This process is like using a magnifying glass to concentrate sunlight—it focuses scattered light energy into a tiny spot, pushing the energy density at the focal point to an extreme level, fully prepared for cutting.
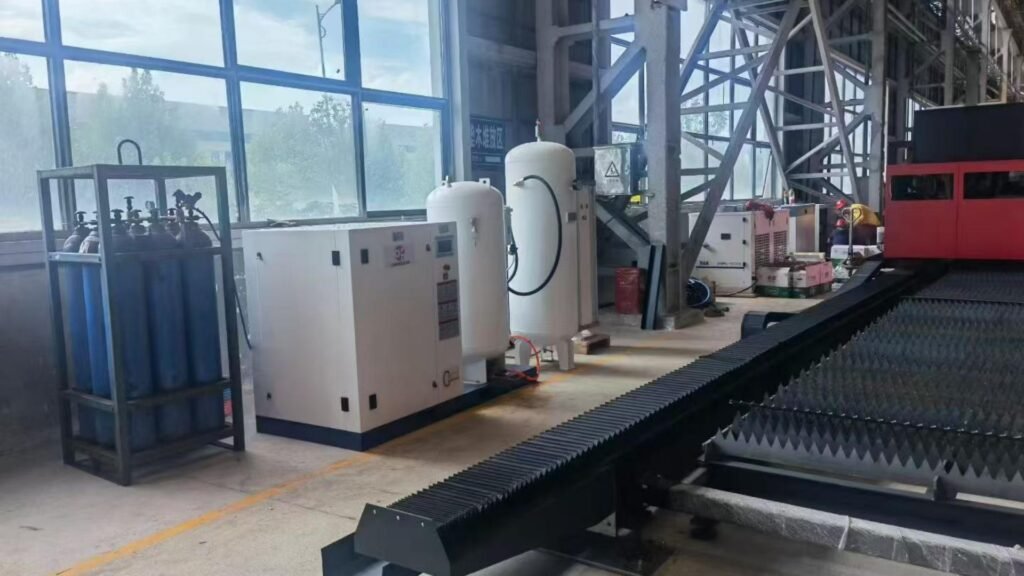
At the same time, the cutting head is equipped with a water circulation cooling system and a gas blowing device. This maintains a constant internal working temperature. It blows out high-pressure inert gases (like nitrogen or argon) or oxygen. This serves two purposes: first, it cools the focusing lens to prevent high-temperature damage; second, it acts as an assist gas to blow away the molten slag generated during cutting, preventing it from affecting the cut quality.
3. The Core Impact Factor: How Focal Position Determines Cutting Edge and Speed
The focal position directly determines the cutting cross-section, verticality, kerf (slit) condition, and the suitable materials for cutting. Different relative positions between the focus and the sheet metal surface result in different cutting effects. This is generally divided into three scenarios:
-
Focus on the Material Surface: The cutting edge is smooth and flat, with minimal burrs. The kerf is relatively narrow, and the verticality is good. This is the most common method, suitable for cutting most standard thin materials.
-
Focus Inside the Material: This provides the best verticality of the cutting edge, effectively preventing slanted edges and slag accumulation. The kerf width is moderate. It is ideal for cutting medium-to-thick materials, ensuring better overall cutting quality.
-
Focus Below the Material: The cutting edge is prone to burrs, the roughness is higher, the kerf is wider, and the verticality is poor. This is generally not used for standard materials. It is only suitable for certain special materials to reduce laser reflection that could damage the equipment.
In summary, the choice of focal position must be combined with the material being cut. Reasonable adjustments are required to ensure a smooth cut, standardized verticality, and an even kerf.
4. The Process: Precision Shaping from “Point” to “Line” to “Surface”
Once the focused laser has sufficient energy, the core of the cutting process lies in the precise control of moving from a “point” to a “line,” and a “line” to a “surface.” This process is completed collaboratively by the CNC (Computer Numerical Control) system, the motion mechanism, and the laser:
-
Step 1: Positioning the “Point” The CNC system receives the preset cutting drawings (in CAD format) and precisely controls the cutting head to move to the starting point on the sheet metal. At this moment, the focused laser hits the starting position, instantly releasing high energy to melt and vaporize the material’s surface, creating a microscopic “cutting point.”
-
Step 2: From “Point” to “Line” The laser focus maintains a stable energy output. Simultaneously, the CNC system commands the motion mechanisms (such as the gantry and cutting table) to move the cutting head at a constant speed along the pre-drawn path. During this movement, the laser continuously melts and vaporizes the metal along the way, while high-pressure gas blows away the slag, forming a continuous cutting line.
-
Step 3: From “Line” to “Surface” Multiple continuous cutting lines are connected according to the outline of the drawing to form a complete shape. For example, when cutting a square, the laser will cut one long side first, then turn to cut the short side, sequentially completing all four sides to form the final workpiece.
Throughout this entire process, the precision of the CNC system (with margins of error controllable to ±0.01mm), the stability of the laser energy, and the moving speed of the mechanical parts collectively dictate the accuracy and efficiency of the final product. This is the core advantage of fiber laser cutting machines over traditional methods like flame or plasma cutting.
Summary
The working principle of a fiber laser cutting machine is essentially about “energy conversion and precise control.” It starts with converting electrical energy into a high-energy laser via the fiber laser source. This light is then collimated and focused into an “energy blade.” Finally, through precise control of the focal position and moving from a “point to a line, and a line to a surface,” it achieves high-efficiency, high-precision sheet metal cutting.
Understanding these four core stages not only helps operators run the equipment better but also allows for clearer troubleshooting when cutting issues arise (such as burrs or incomplete cuts). By optimizing cutting parameters based on this knowledge, overall production efficiency can be significantly improved.